Quick answer: An MCL sprain rehab protocol is usually built in three phases: protection and early motion, progressive strengthening, and sport-specific loading. What makes it a protocol rather than an exercise list is that progression between phases is based on clear criteria, such as minimal swelling, full range of motion, good quadriceps control, strength compared with the other leg, and confident single-leg control, rather than on the calendar alone. The starting point and pace should always be set by a clinical assessment.
There’s no shortage of MCL rehab exercises online, usually laid out week by week. What’s much harder to find is an explanation of the reasoning behind a good MCL sprain rehab protocol: what each phase is trying to achieve, how you know when someone is ready to move on, and why two people with the same diagnosis can progress at very different speeds. This article is written for anyone who wants that framework, whether you’re recovering from an MCL sprain yourself or you’re a coach or clinician supporting someone who is.
Please treat what follows as a general framework rather than a prescription. The right starting point and pace depend on the grade of the sprain, whether other structures in the knee are involved, the person’s sport, and how they respond. A clinical assessment should always set the plan. If you’re looking for a simpler, patient-friendly list of the exercises themselves, our guide to MCL physical therapy exercises covers that side in plain terms.
What An MCL Sprain Rehab Protocol Actually Means
An exercise list tells you what to do. A protocol tells you why, in what order, and when to change it. A good MCL protocol has three ingredients. First, each phase has clear goals based on what the healing ligament and the surrounding muscles need at that point. Second, each phase uses exercises chosen to meet those goals while respecting the healing tissue. Third, and most importantly, there are specific criteria that must be met before moving to the next phase.
The reason this matters is that time alone is a poor guide. The MCL generally has a good blood supply and a strong capacity to heal, and research suggests most isolated MCL sprains do well with conservative management. But healing speed varies with the grade, age, previous injuries, swelling, and how well early rehab goes. A week number tells you how long it has been since the injury. A criterion tells you whether the knee is actually ready for more. Most protocols still give approximate timeframes as a rough guide, but in our experience the best results come from treating those timeframes as estimates and the criteria as the real gatekeepers.
The grade of the sprain changes how the protocol is applied rather than the protocol itself. With a mild, grade one sprain, the ligament is stretched but intact, so phase one may be brief and some people move into strengthening within days. With a grade two sprain, there’s partial tearing, more protection is usually needed, and the early phase tends to last longer. With a grade three sprain, the ligament is fully torn, a brace and a longer protected phase are common, and other structures in the knee are more likely to be involved, so specialist input may be part of the plan. The phases stay the same, but the starting point, the amount of protection, and the pace all shift.
Phase One: Protection And Early Motion
The goals of the first phase are to protect the healing ligament from the sideways, inward force it resists, settle pain and swelling, restore range of motion, get the quadriceps working again, and return to normal walking. For more significant sprains, a clinician may recommend a hinged knee brace to protect against inward stress while still allowing the knee to bend and straighten, and crutches may be used for a short time if walking is painful.
Restoring full knee extension early is a priority, since a knee that won’t fully straighten affects walking and loads the joint unevenly. Typical exercises include quadriceps setting, straight leg raises, heel slides, gentle range of motion work, calf raises, and hip strengthening that doesn’t stress the inside of the knee. An exercise bike is often introduced once there’s enough bend in the knee to pedal comfortably. Hands-on treatment and Rocktape taping may help some people feel more comfortable during this phase.
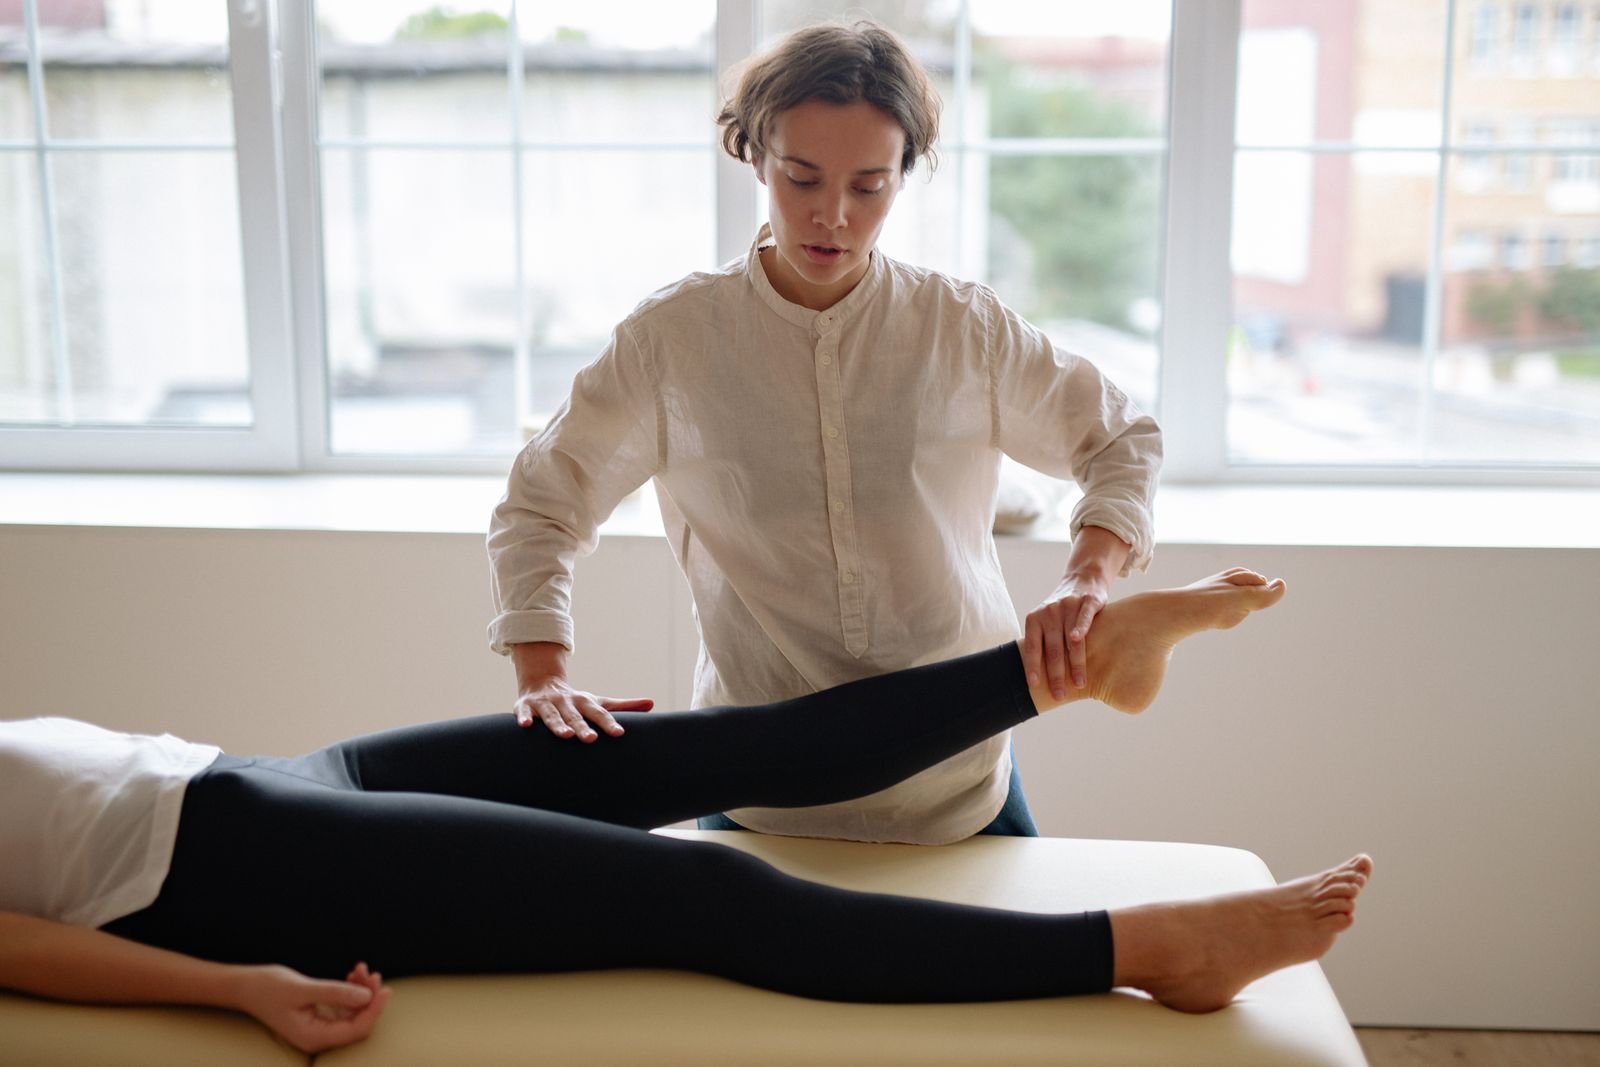
Typical criteria for moving on include minimal swelling, full knee extension and good flexion, a straight leg raise without the knee sagging, and walking normally without crutches or a limp.
Phase Two: Progressive Strengthening
The goal of phase two is to rebuild strength and control, especially in the quadriceps, hamstrings, and hip muscles, while gradually reintroducing load to the healing ligament. Strength losses after knee injury can be significant, and quadriceps weakness in particular can persist well after pain has settled if it isn’t specifically addressed.
Exercises usually progress from supported to more demanding versions. Common examples include mini squats, leg press, step-ups, split squats, bridges, hamstring curls, hip abduction and extension work, and balance exercises on one leg. Load is increased progressively, and exercises that place a sideways, inward stress on the knee, such as wide lateral lunges or certain cutting movements, are usually introduced later and carefully. Our article on MCL exercises to avoid explains which movements tend to be delayed and why.
Criteria for moving to phase three often include full, pain-free range of motion, no swelling after training, quadriceps strength approaching the uninjured side, and good single-leg control, such as being able to perform a single-leg squat without the knee collapsing inwards.
Phase Three: Sport-Specific Loading
Phase three prepares the knee for the demands of real sport. The focus shifts to speed, power, agility, and confidence. This usually starts with a running progression in straight lines, then builds through faster running, accelerations, and deceleration work. Plyometric exercises, such as double-leg jumps progressing to single-leg hops, help the knee tolerate impact.
Before the first run, many clinicians look for a few simple markers: pain-free fast walking, the ability to hop on the injured leg repeatedly without pain, and no swelling the day after strength sessions. Starting running before these are in place often leads to a flare that sets progress back.
Change of direction is reintroduced gradually, starting with gentle curved runs and side shuffles before progressing to sharper cuts and reactive drills. Sport-specific skills, such as kicking, tackling, grappling, or pivoting, are added with increasing intensity. Throughout this phase, the knee is monitored for swelling, pain, and any sense of instability after each session, as these are signs that the load has outpaced the ligament’s current capacity.
The Criteria Used To Progress Between Phases
This is the part most MCL rehab content leaves out, so here’s how criteria are commonly used. Swelling is checked regularly, often with a simple stroke test, and any increase after a session suggests the load was too much. Range of motion is measured and compared with the other knee. Quadriceps control is checked with a straight leg raise and later with strength testing, often expressed as a limb symmetry index, a percentage comparing the injured leg to the uninjured one.
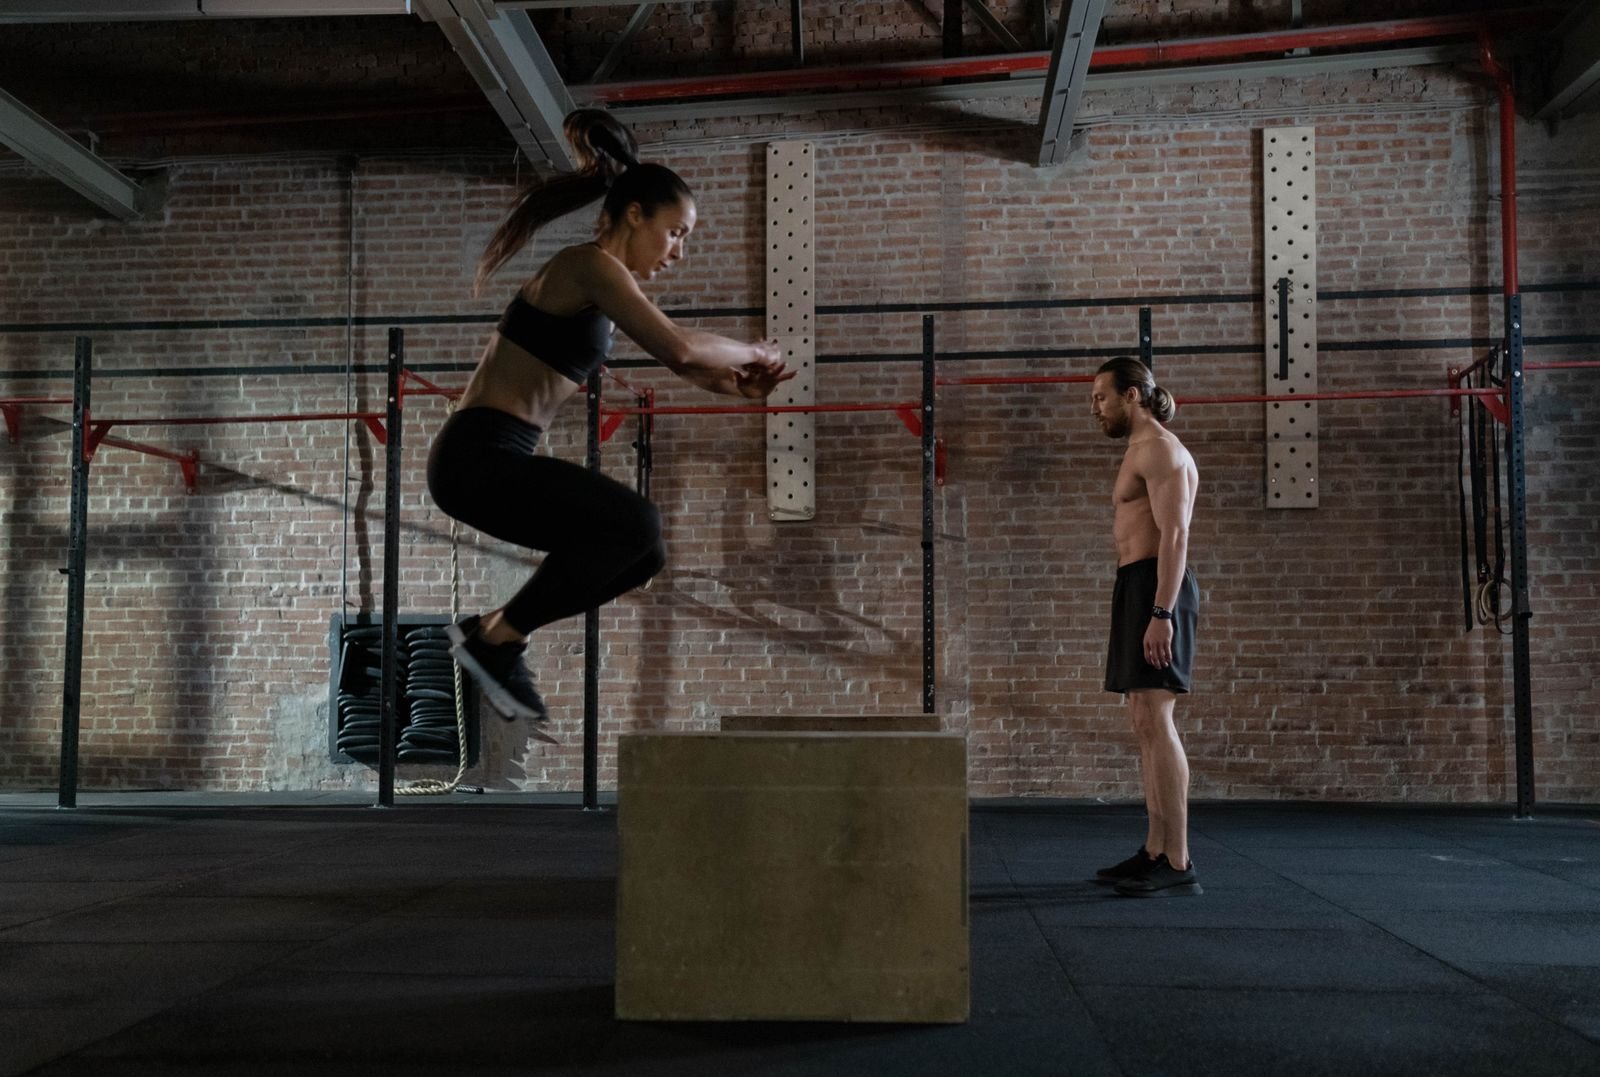
Single-leg control is assessed through tasks like single-leg squats and step-downs, watching for the knee collapsing inwards. Later, hop tests, such as single, triple, and crossover hops for distance, are compared side to side, with many clinicians looking for results close to the uninjured leg, often around ninety percent, before full return to sport. A clinical check of the ligament’s stability, absence of pain on stressing the inside of the knee, and pain-free performance of sport-specific drills are also part of the decision.
Psychological readiness matters too. Some people are physically ready but still lack confidence, and simple questionnaires or graded exposure to sport-specific tasks can help identify and address that before returning to full competition.
How Sports Rehab Applies The MCL Sprain Rehab Protocol Individually
At Impact Sports Rehabilitation, we use this framework as a starting point rather than a script. In a rehabilitation consultation, we assess the grade of the sprain, check for involvement of other structures such as the ACL or meniscus, and look at your sport, goals, and previous injuries. We then set clear criteria for each phase and retest them regularly, so progression is based on what your knee can actually do.
Supportive treatments such as sports massage for tight surrounding muscles and taping during return to activity can be added where helpful. If you’re looking for practical ways to support healing alongside your programme, our guide on how to make an MCL heal faster covers the everyday factors that help.
If you’re recovering from an MCL sprain and want a structured, criteria-based plan rather than guesswork, Impact Sports Rehabilitation in Eccles, Greater Manchester can assess your knee and guide you through each phase. We work with athletes and active people from Eccles, Salford, Trafford, and across Manchester, and online consultations are available if you’re further away. Book in and let’s build your return to sport properly.
Frequently Asked Questions
How long does an MCL sprain rehab protocol take?
It varies depending on the grade of the sprain, any other knee injuries, and how you respond to each phase. Mild sprains often progress quickly, while more significant sprains take longer, which is why criteria rather than fixed dates guide progression.
Do I need a brace during MCL rehab?
For more significant sprains, a hinged brace is often recommended early on to protect the ligament while allowing movement. Mild sprains may not need one, and your clinician will advise based on your assessment.
What are the criteria to return to sport after an MCL sprain?
Commonly used criteria include no swelling, full range of motion, strength and hop test results close to the uninjured leg, a stable knee on clinical testing, and pain-free sport-specific drills. Feeling confident in the knee is important too.
Can I skip phase one if my knee feels fine?
It’s usually not a good idea, as feeling fine doesn’t always mean the ligament and muscles are ready for higher loads. Meeting the phase one criteria quickly is great, but it’s worth confirming them rather than skipping ahead.
Is this protocol the same for everyone?
No, it’s a general framework that should be adapted to your injury, sport, and progress. Impact Sports Rehabilitation tailors the starting point, exercise selection, and pace to your individual assessment.
What if my knee swells after a rehab session?
Increased swelling after a session usually means the load was more than the knee could currently handle. It’s a signal to reduce load slightly and progress more gradually, and persistent swelling should be reviewed by your clinician.
This article is for educational purposes only and is not a substitute for professional medical diagnosis or treatment. The framework described is general and should be individualised following clinical assessment, which should determine the appropriate starting point and pace. Impact Sports Rehabilitation offers in-person and online consultations to guide your recovery.