
Quick answer: Working out how to cure shin splints properly means four things in order: cutting training load to a genuinely pain-free level rather than stopping completely, managing pain with ice and smart footwear choices, rebuilding calf and shin strength once the acute pain settles, and fixing whatever actually caused the overload in the first place, whether that’s a mileage jump, worn shoes, or running surface. Skip that last step and many people find the same pain simply returns a few weeks after they feel “cured.” Most clients notice real, lasting improvement takes a genuine four to six week commitment to all four steps, not just resting until the pain fades.
If you’re trying to sort your shin splints out yourself before spending money on a clinic, good, that’s genuinely doable for a lot of people, as long as you follow a real plan instead of just resting for a few days and hoping. Working out how to cure shin splints properly, and have it actually stick, comes down to following four steps in order, including the part almost every other guide skips: what actually needs to change so the pain doesn’t just come straight back the moment you resume normal training.
Step One: How To Cure Shin Splints Starts With Understanding The Cause
Shin splints happen when repetitive stress on the shin bone and the muscles attached to it outpaces your body’s ability to recover, usually from some combination of a sudden increase in training volume, a change in running surface, or footwear that’s no longer doing its job. Understanding which of these applies to you isn’t just background information, it’s the difference between a plan that actually works and one that just treats symptoms on repeat.
This is why jumping straight to exercises or icing without understanding the cause tends to produce short-lived relief. If you don’t know what pushed your shins past their limit, you’re essentially guessing at a fix, and guessing is exactly how shin splints become a recurring, seasonal problem instead of a one-time setback.
Take a honest look at what changed in the weeks before the pain started. Did your weekly mileage jump noticeably? Did you switch shoes, start running on a harder surface, or add speed work or hill sessions you weren’t doing before? Most people can identify at least one clear change if they actually think it through, and that answer is exactly what step four later in this guide will need.
Step Two: Rest, Ice, And Load Management
Cut your running volume back to a genuinely pain-free level, often somewhere around thirty to fifty percent of what you were doing, rather than stopping entirely. Cross-training with cycling, swimming, or an elliptical machine lets you hold onto fitness while giving the shin the actual break it needs to calm down.
Ice the area for ten to fifteen minutes after activity to help manage inflammation and discomfort in this early stage. This step is about creating the conditions for healing to actually happen, not gritting your teeth through the same training you were already doing.
Step Three: Rebuild Strength And Flexibility The Right Way
Once the sharp, acute pain has genuinely settled, the next step is rebuilding calf strength, front-of-shin strength, and ankle mobility, since weak or tight tissue around the lower leg is a big part of why the overload happened in the first place. Hip and glute strength matters here too, since poor control higher up the chain changes how force travels down through the shin with every step.
This stage is where a lot of self-directed recovery plans stall out, either progressing too fast because the pain has faded, or staying stuck on gentle exercises long after the tissue is ready for more. Many people find a structured, progressive approach here makes a real difference to how solid the recovery actually feels once training resumes.
Step Four Of How To Cure Shin Splints: Fix The Root Cause
This is the step almost every shin splints guide skips, and it’s exactly why so many people end up treating the same injury two or three times a season. If a sudden mileage increase caused this, the fix is respecting something like the ten percent rule, increasing weekly mileage by no more than about ten percent from one week to the next, rather than jumping back to your old volume the moment the pain clears.
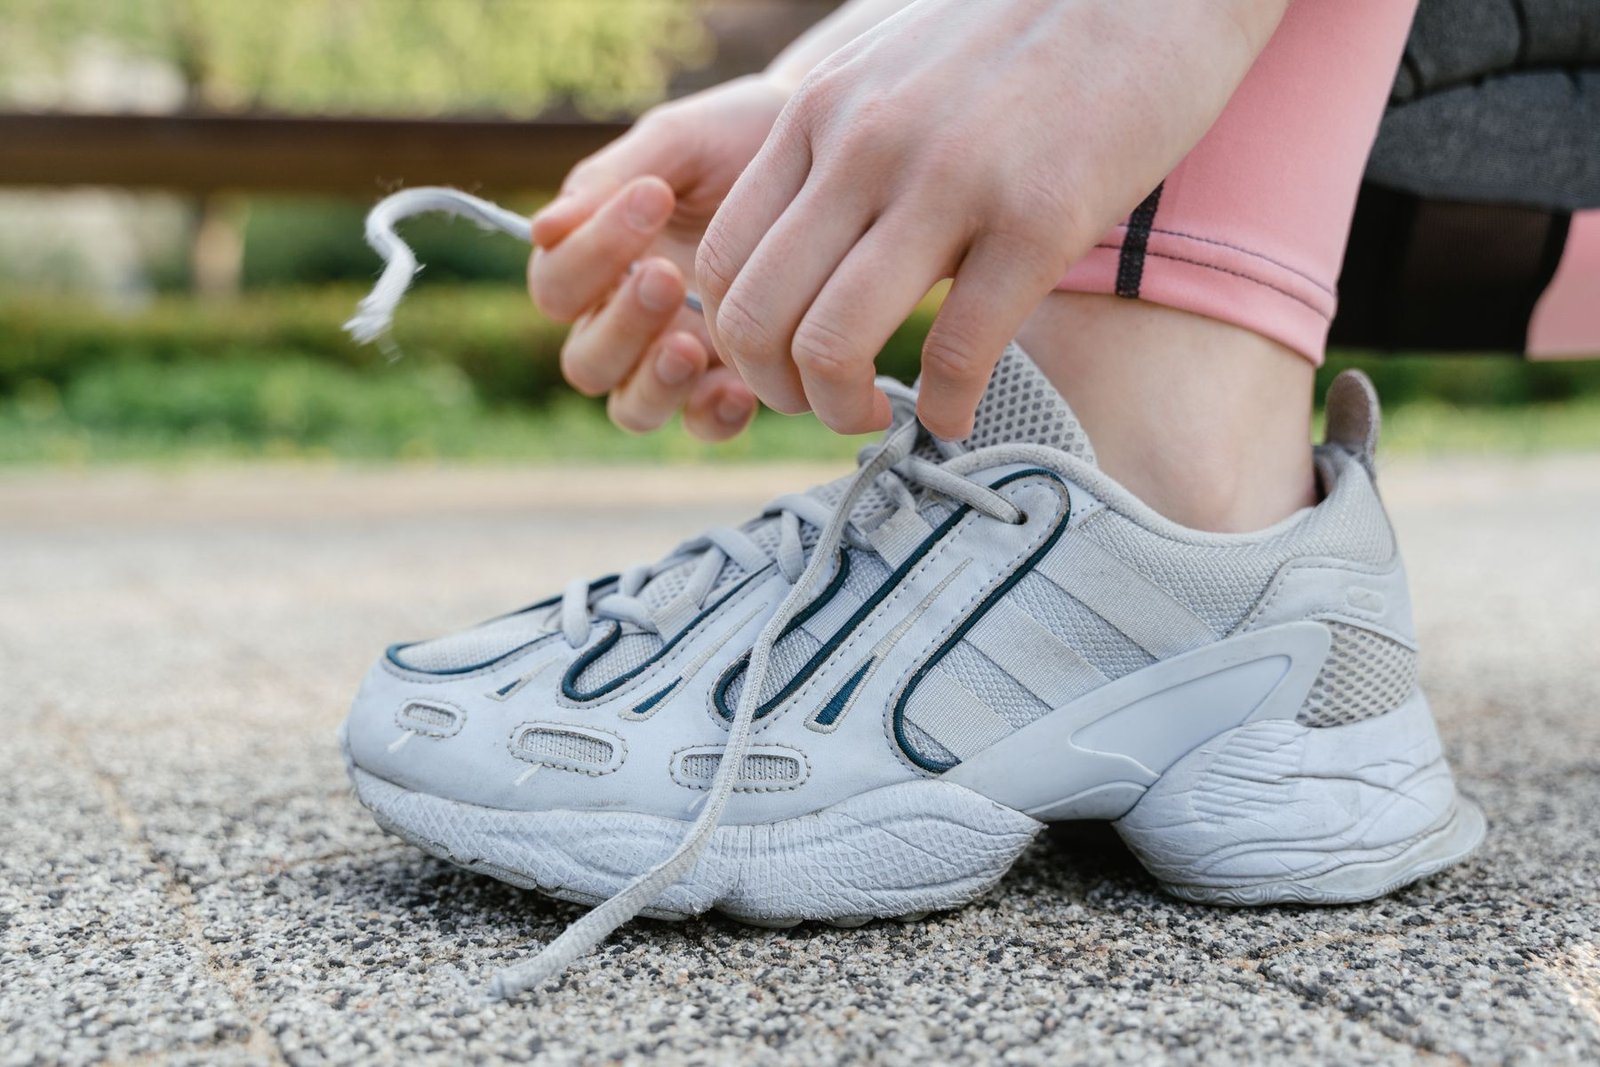
If footwear is part of the picture, worn-out shoes with compressed cushioning or a poor fit for your foot type need replacing, not just resting through. If a hard running surface was a factor, mixing in some softer-surface running, grass or a track instead of concrete, can meaningfully reduce the repetitive load your shins absorb. Fixing the actual cause, not just the symptom, is genuinely the difference between curing shin splints and simply pausing them for a few weeks.
How Sports Rehab Speeds Up Every Step
A guided rehab plan tends to move through all four of these steps considerably faster and more reliably than doing it alone. A Rehabilitation Consultation identifies exactly what’s driving your specific overload, whether that’s training load, footwear, or biomechanics, rather than applying a generic recovery template to everyone.
Some clients find cupping therapy genuinely useful alongside strengthening work for easing the muscle tightness that builds up around an irritated shin. Most clients notice that having someone actually check their progression, rather than guessing at when to advance, is what makes the difference between a full recovery and a recurring problem.
Getting Back To Full Training Safely
Once symptoms have genuinely resolved, rebuild mileage gradually rather than snapping straight back to where you left off, keeping a close eye out for any return of that familiar ache along the shin. A safe return means honouring the same load-management principles that got you through recovery, not abandoning them the moment you feel good.
Many people find that the athletes who stick with the strengthening and root-cause fixes even after the pain is gone are the ones who genuinely stop getting shin splints, rather than just getting a longer gap between episodes.
Watch for a few early warning signs as volume increases again: any return of that familiar ache within the first few runs back, noticeably more soreness the day after than you’d expect, or a nagging awareness of the shin that wasn’t there before. Any of these is a signal to hold volume steady for a week rather than pushing through, since catching a small setback early is far easier to manage than starting the whole process over.
If you’ve tried the home approach and it’s not sticking, or you’d rather have a proper plan from the start, Impact Sports Rehabilitation works with runners and athletes across Eccles, Salford, Trafford, and the wider Greater Manchester area on exactly this. Ask about an online consultation if you’re further afield.
Frequently Asked Questions
Can shin splints actually be cured, or do they always come back?
Many people find their symptoms resolve fully and stay away, but only when the underlying cause, not just the pain, actually gets addressed. Stopping at rest and ice without fixing training load, footwear, or biomechanics is exactly why shin splints have a reputation for coming back season after season.
How long does it realistically take to fix shin splints on my own?
Most clients notice meaningful improvement within four to six weeks when all four steps, load management, pain control, strengthening, and fixing the root cause, are actually followed together. Skipping straight to exercises without reducing training load first tends to stretch this out considerably longer.
Is it bad to keep running a little bit while I work through this?
Light, genuinely pain-free running or cross-training is usually fine and can actually help, but running through real pain at your normal volume is one of the most common ways this drags on far longer than it needs to. If you can’t keep the pain at bay during a light run, that’s a sign to cut back further rather than push on.
Do I really need new shoes, or can I just push through with what I have?
If your current shoes are worn down, have compressed cushioning, or genuinely don’t suit your foot, they can be a real contributing factor that keeps undoing your other efforts. In our experience, this is one of the cheapest and most overlooked fixes in the whole process, worth checking honestly rather than assuming your shoes are fine.
When should I stop trying to fix this myself and see someone?
If the pain is sharply focused on one small spot rather than spread along the shin, wakes you at night, or simply isn’t improving despite several weeks of genuinely following a proper load-management plan, it’s time to get it assessed by a clinician like the team at Impact Sports Rehabilitation rather than continuing to self-treat.
This article is provided for general educational purposes by Impact Sports Rehabilitation and does not constitute medical advice, diagnosis, or treatment. Shin pain that is focal, worsening, or present at rest may indicate a stress fracture or other condition and should be assessed by a qualified medical professional rather than self-treated; nothing in this article should be used to self-diagnose. Always seek the guidance of a doctor or other qualified health provider with any questions about your specific injury or condition.